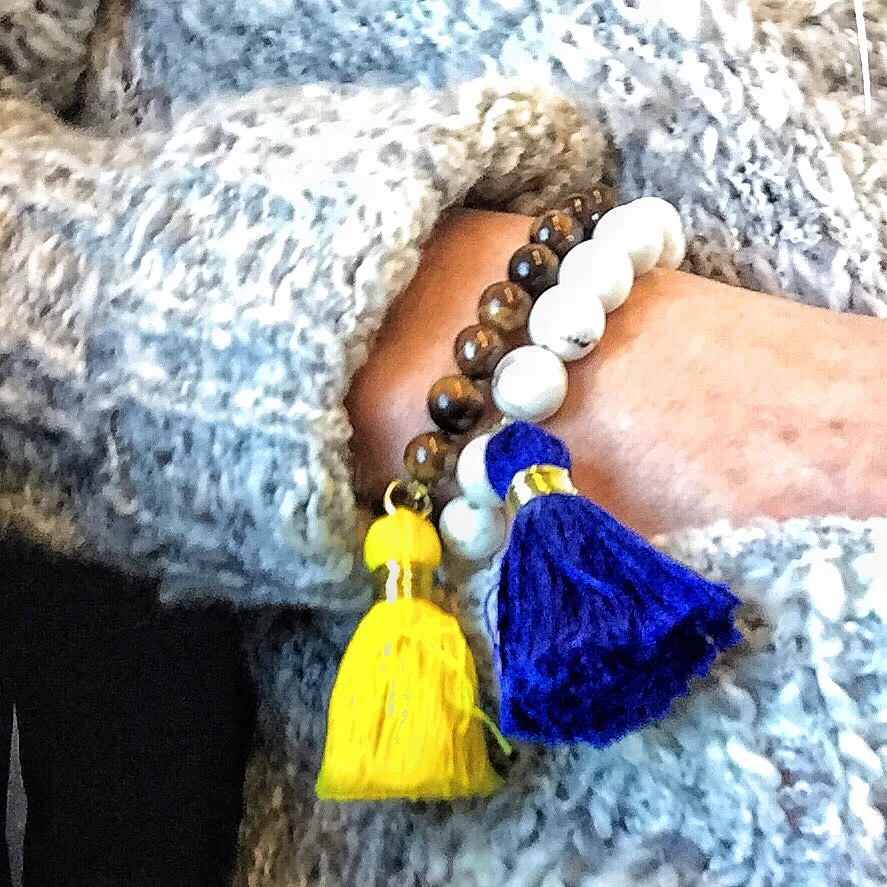
I am so excited to share my first project of #30daysofDIY! It wasn't even a disaster!
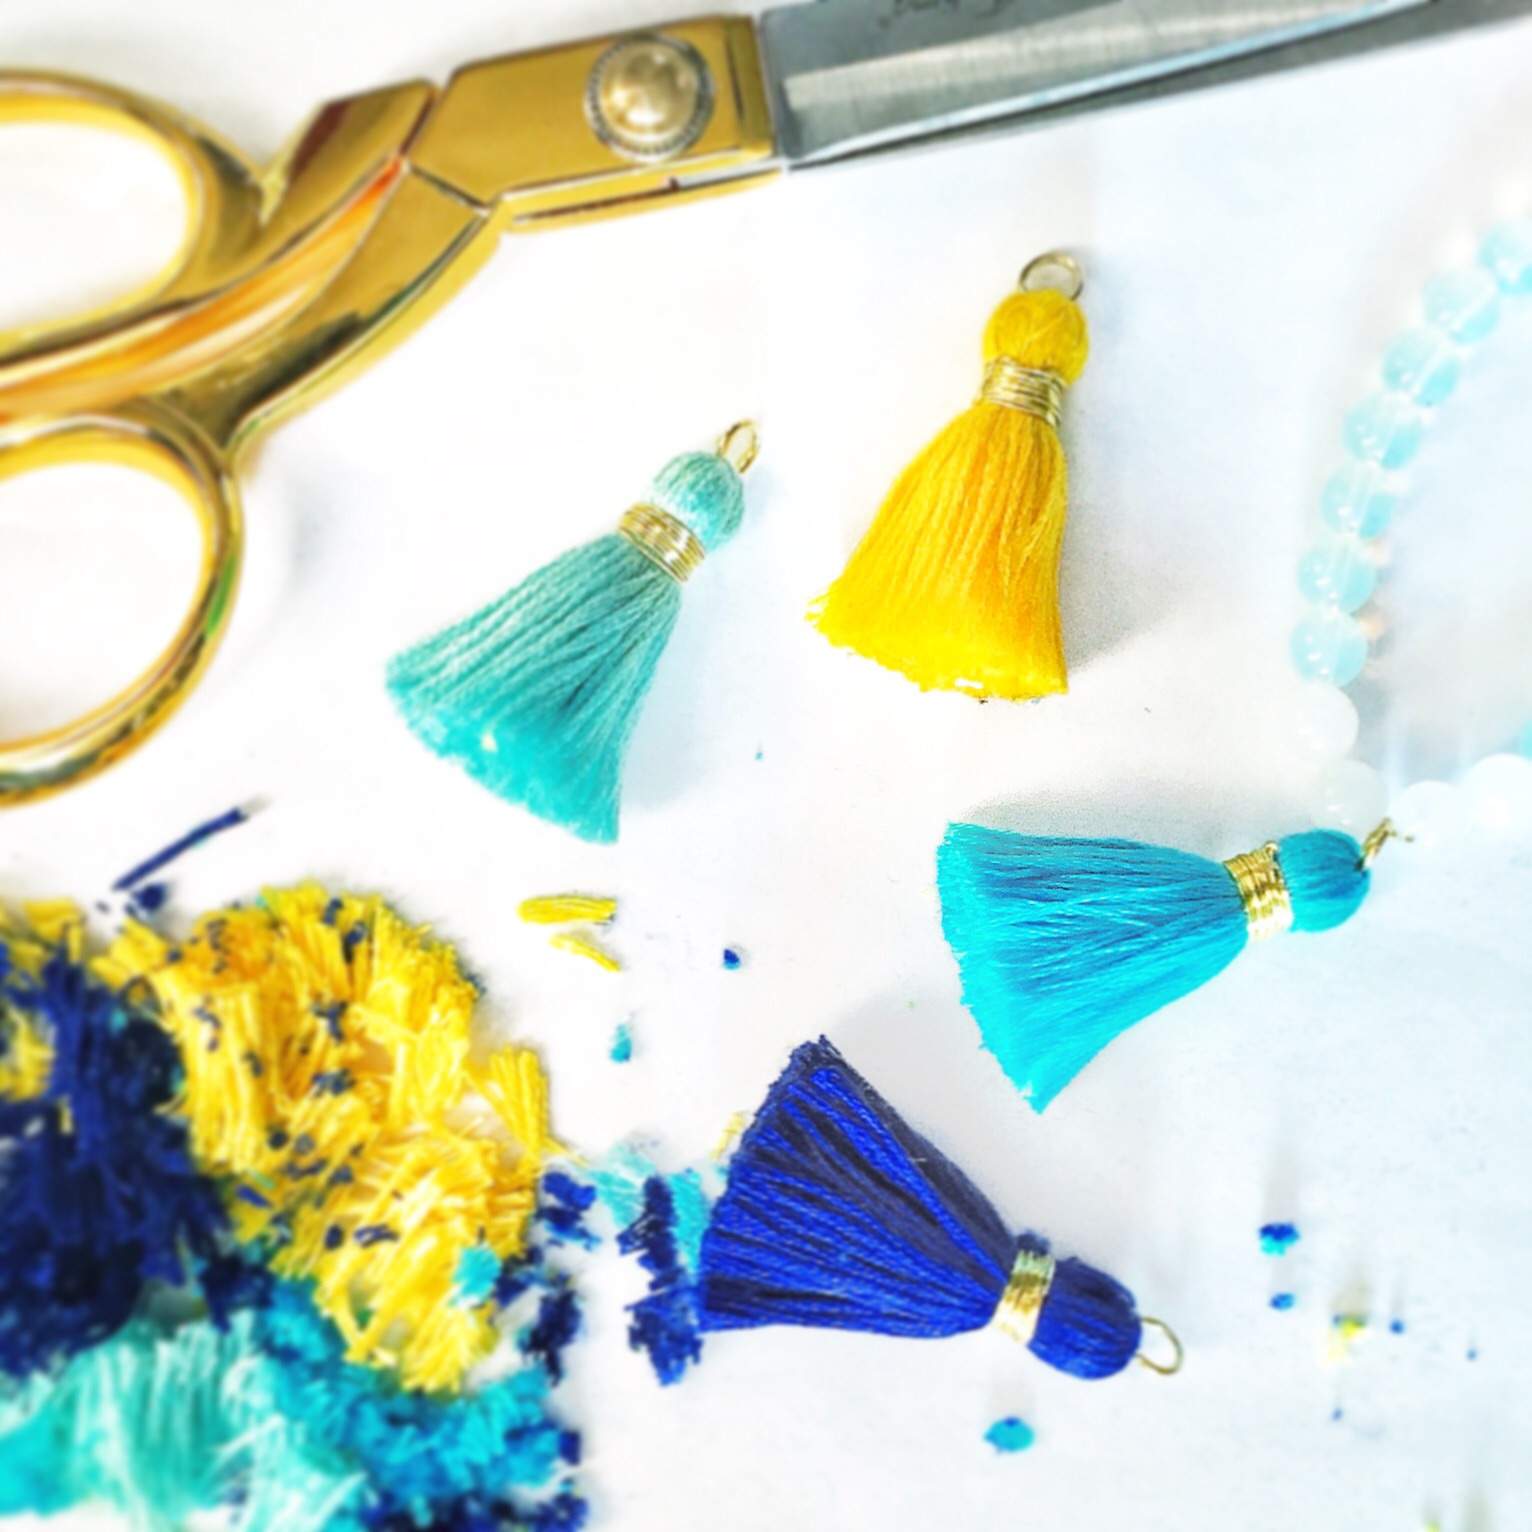
These bracelets are relatively easy to make (I did keep spilling my beads everywhere) and look just like what you would buy in the store!
While I've been on a bracelet making frenzy, you can easily use this tutorial to make a necklace as well!
happy crafting darlings!
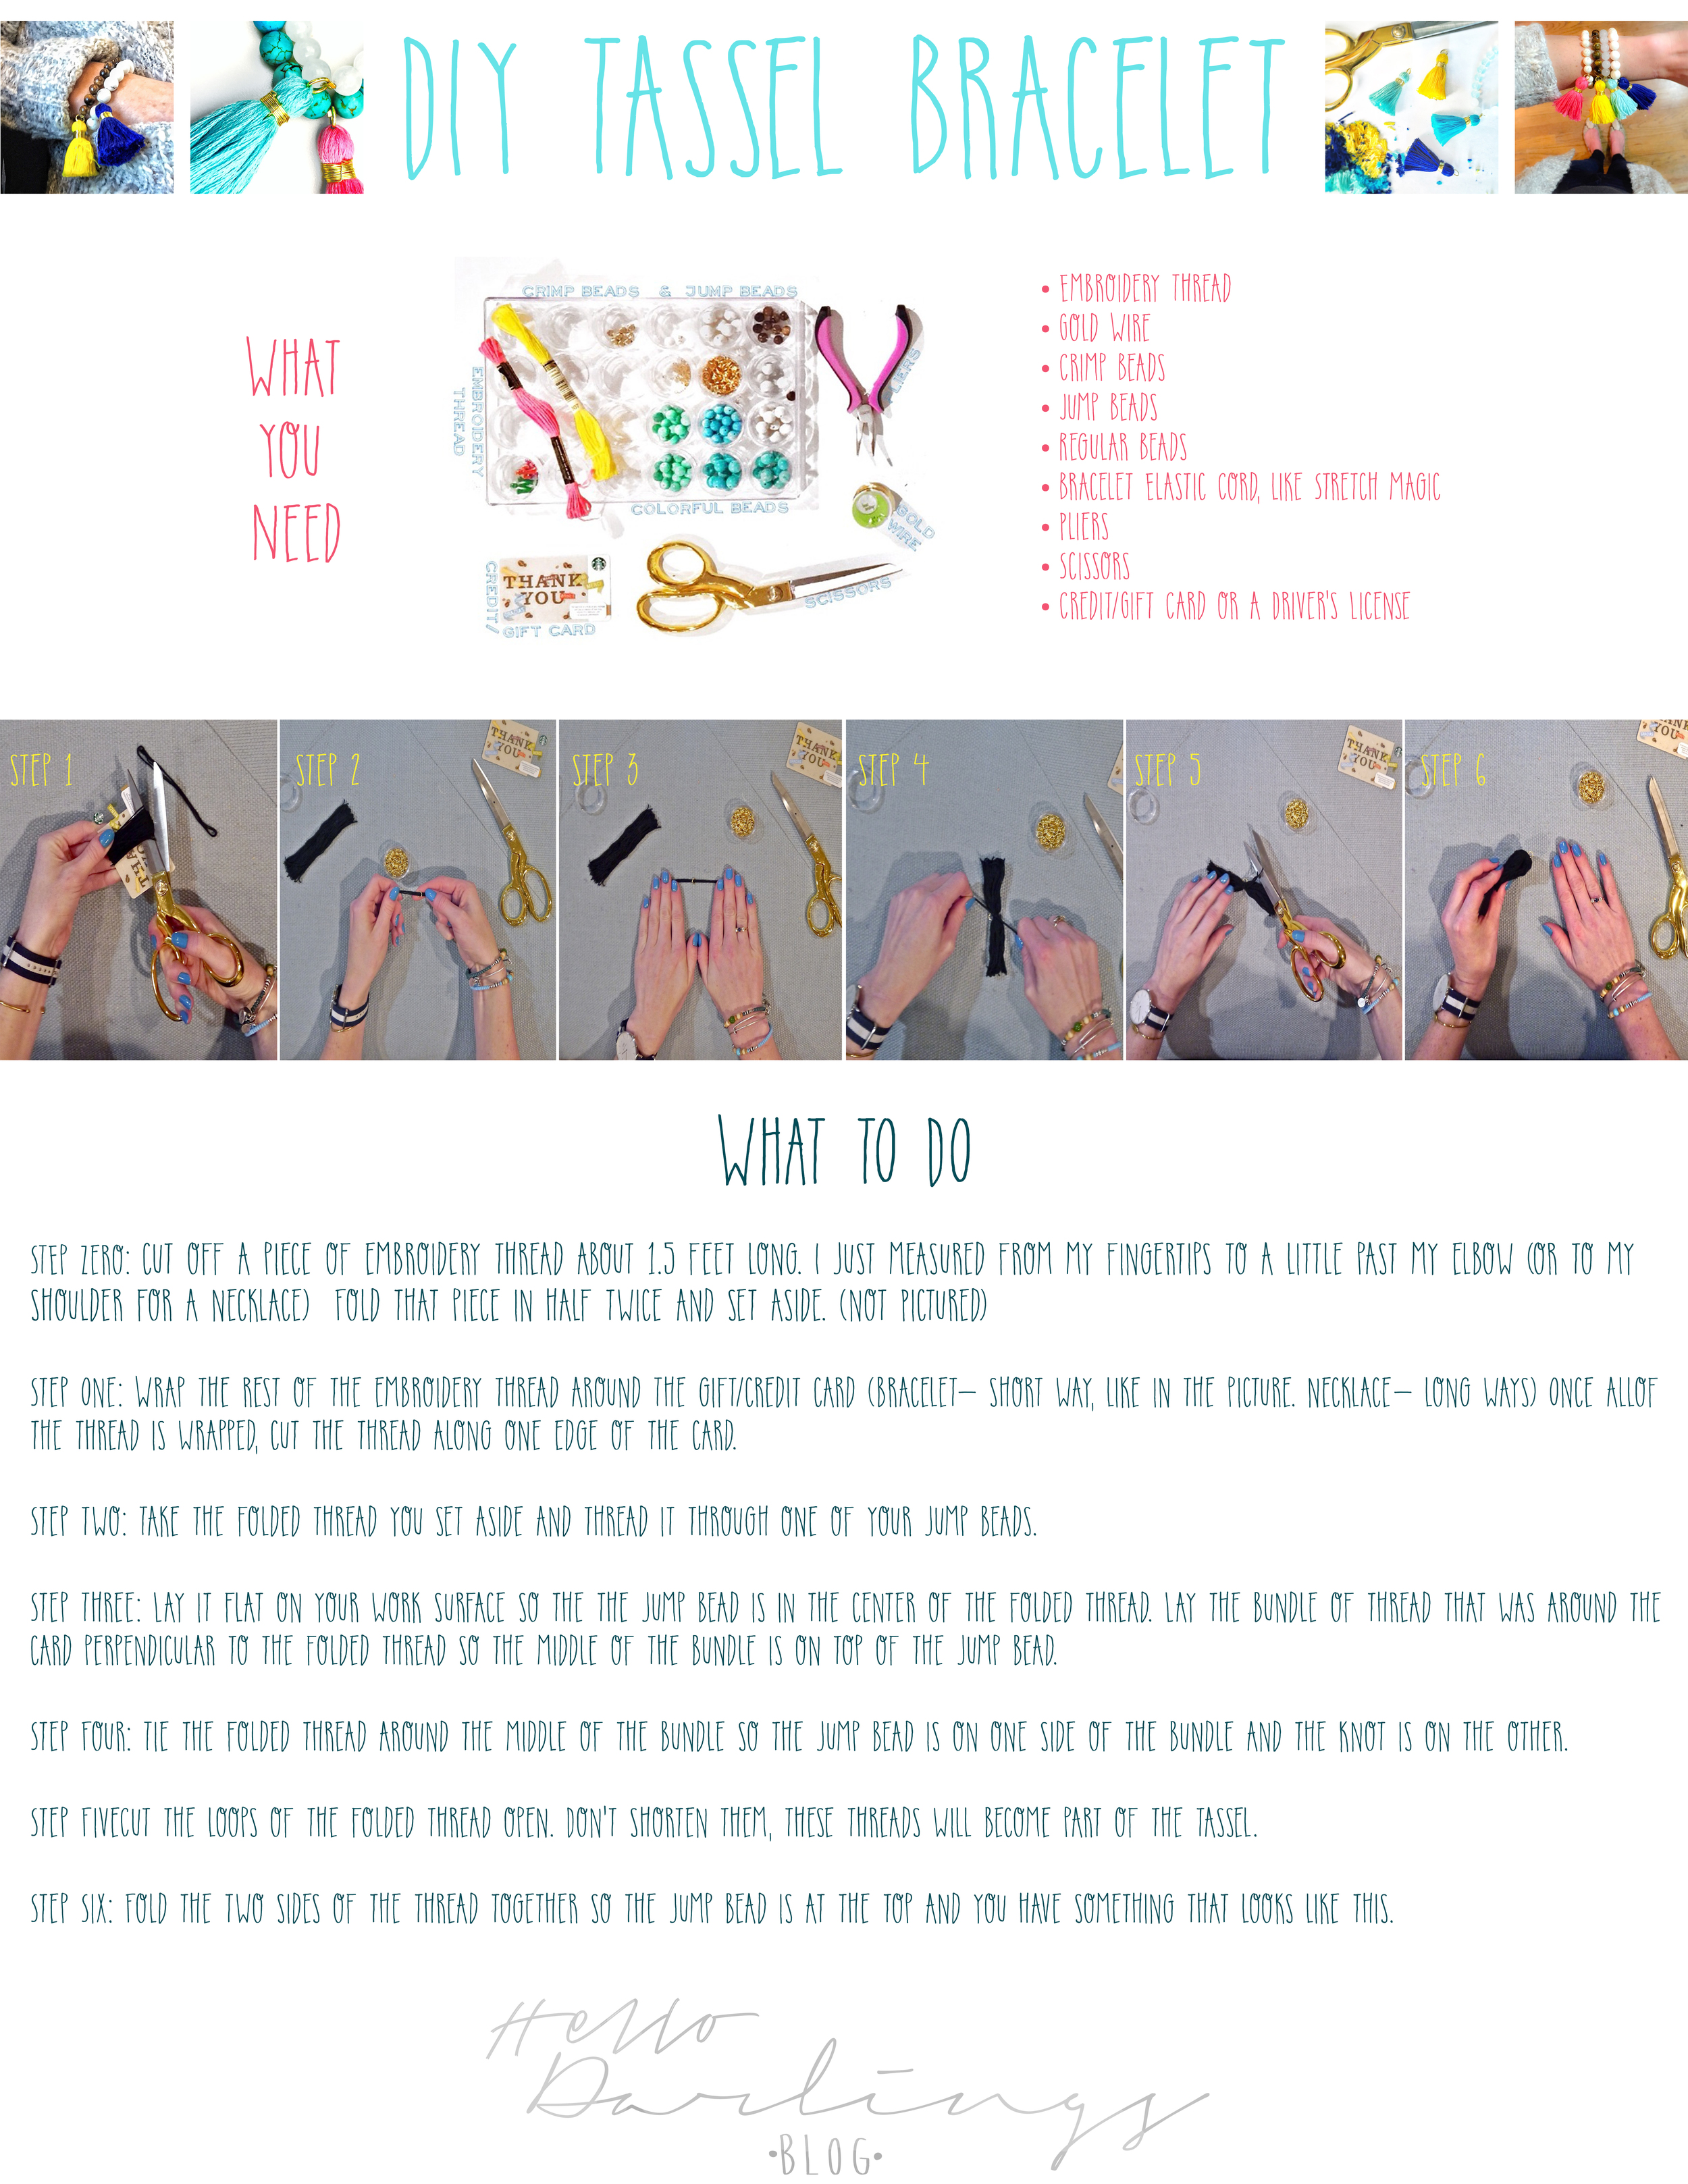
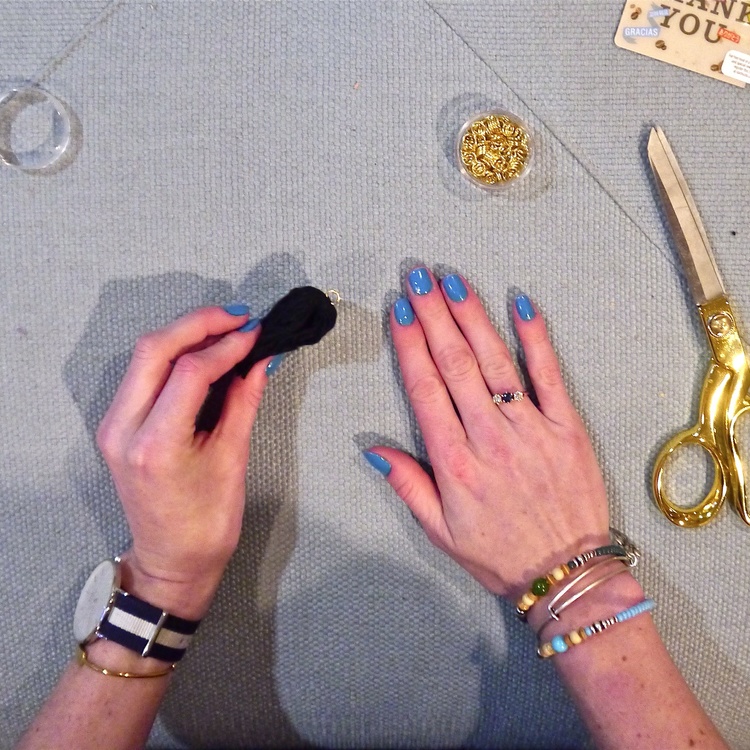
WHAT YOU NEED

Embroidery Thread (2 if you're making a necklace)
Gold Wire
Crimp Beads
Jump Beads
Regular Beads
Bracelet Elastic Cord, like Stretch Magic (necklace- use leather cord)
Pliers
Scissors
Credit/Gift Card or a Driver's License
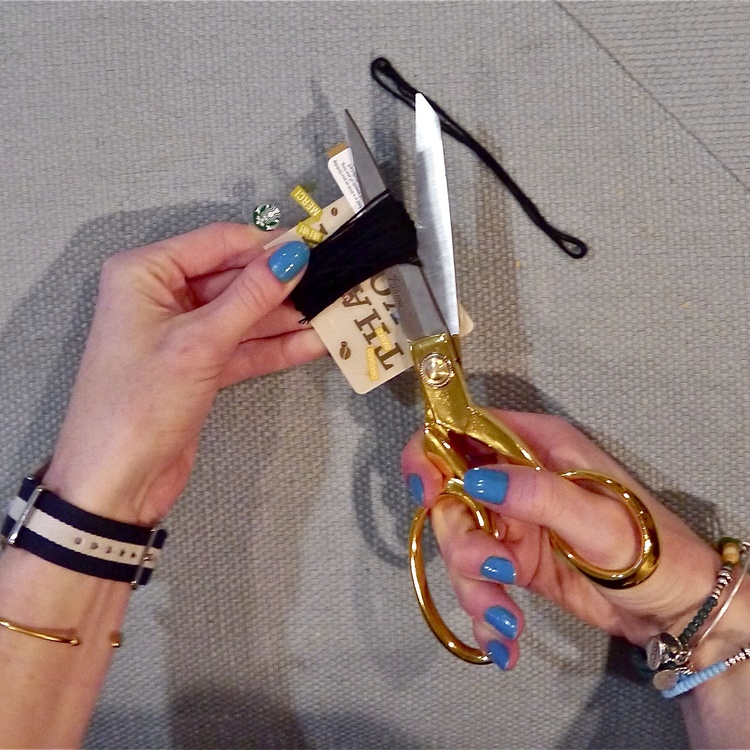
Scroll through the instructions and get crafting!
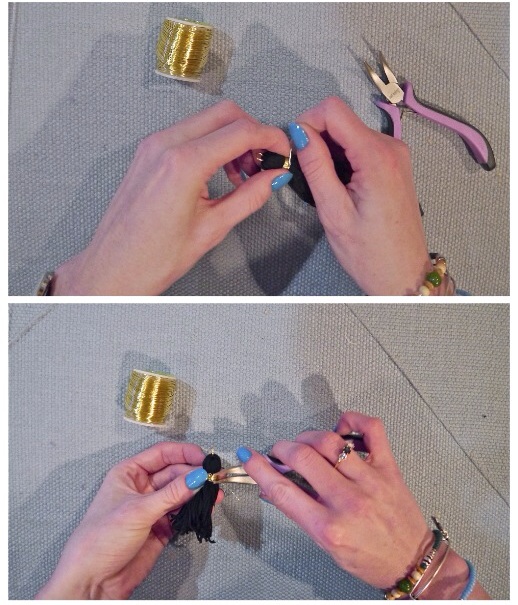
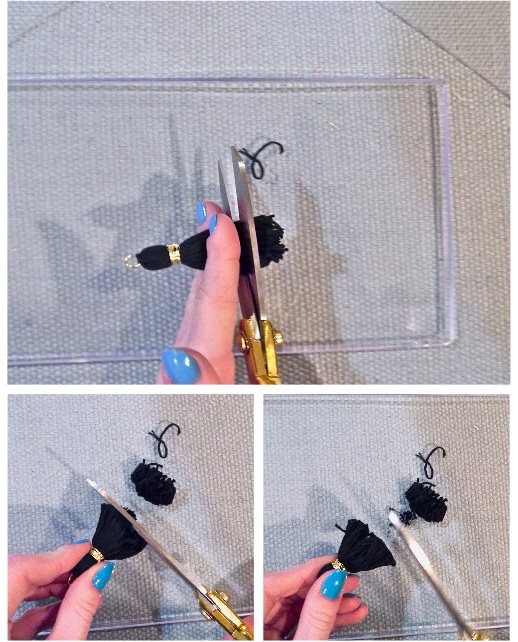
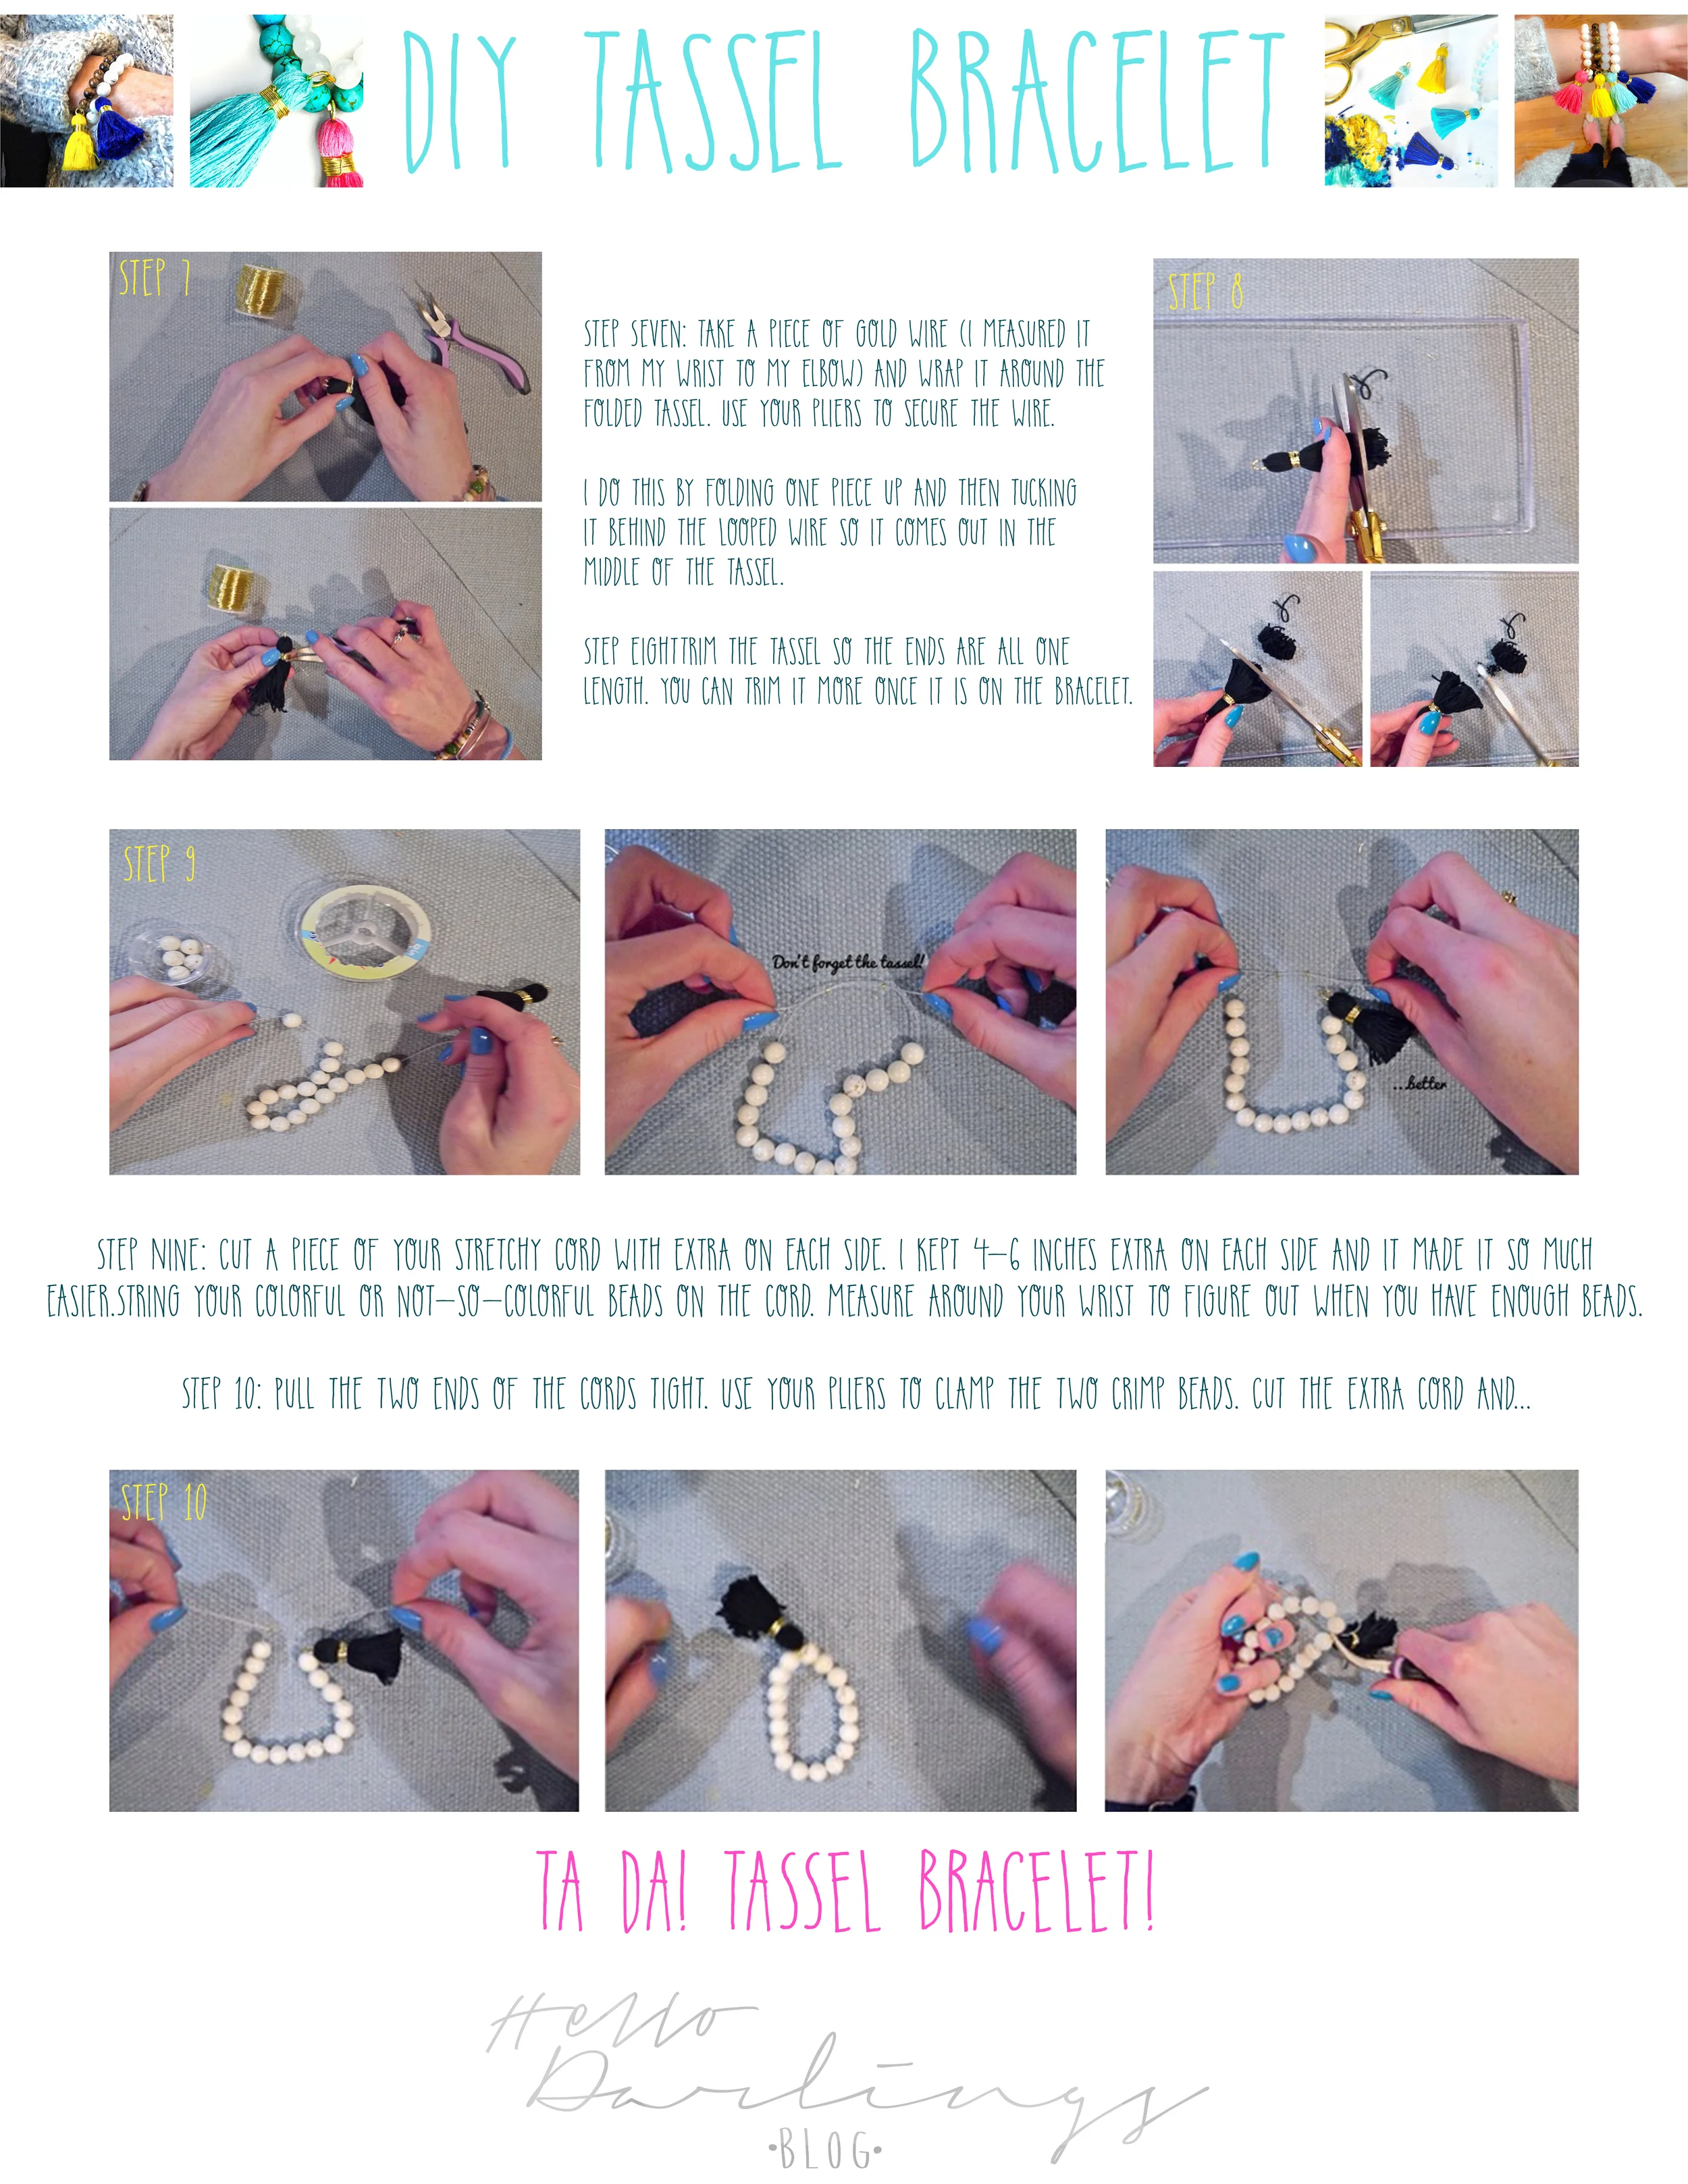
On to the bracelet...
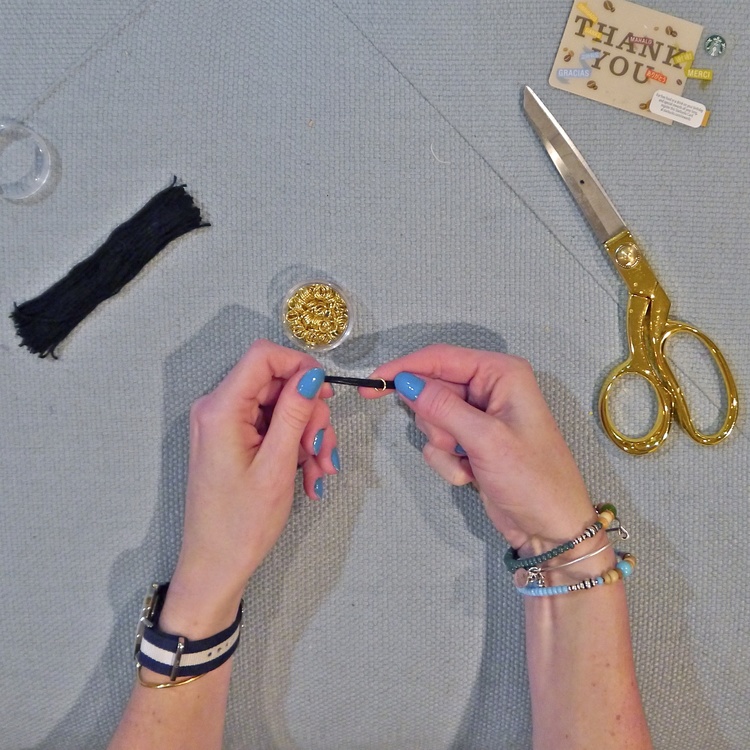
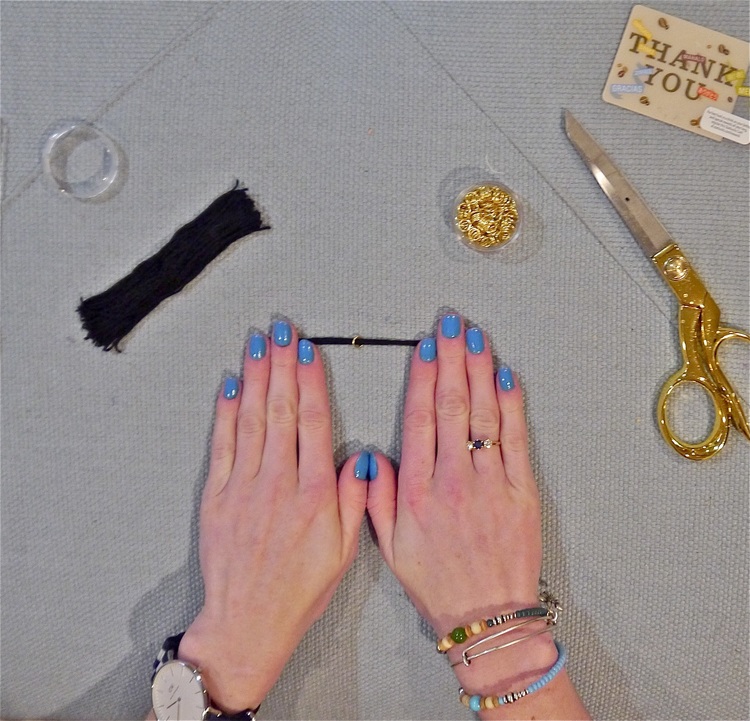
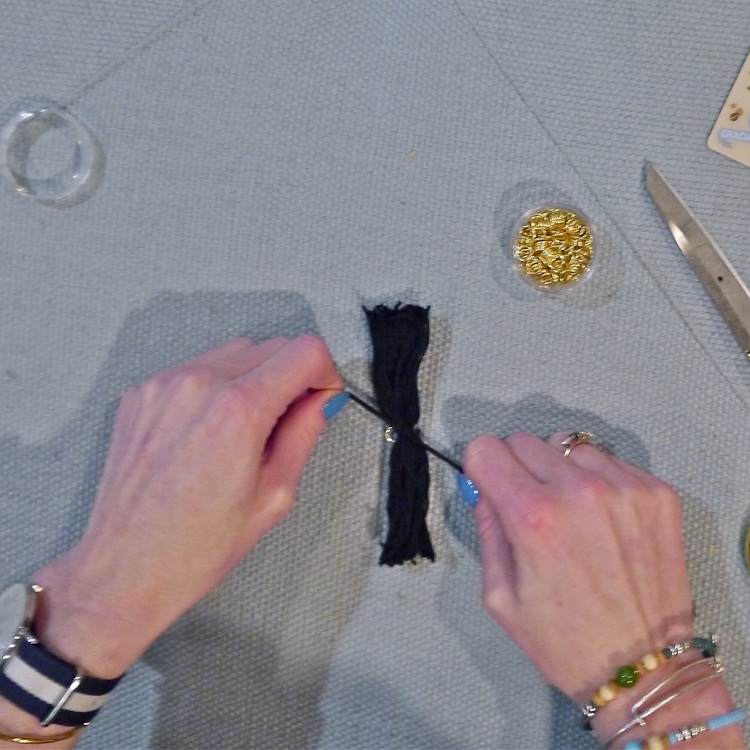
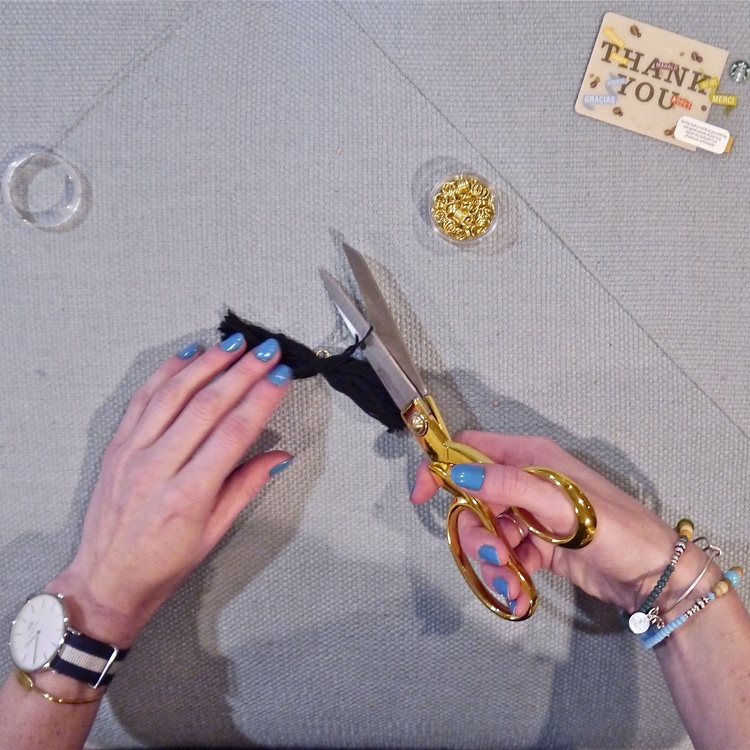
String the tassel on to one side of the bracelet. Take two crimp beads and sting both sides of the cord through each bead like below (yeah, I forgot to put the tassel on the first time).

Cut a piece of your stretchy cord with extra on each side. I kept 4-6 inches extra on each side and it made it so much easier. String your colorful or not-so-colorful beads on the cord. Measure around your wrist to figure out when you have enough beads.
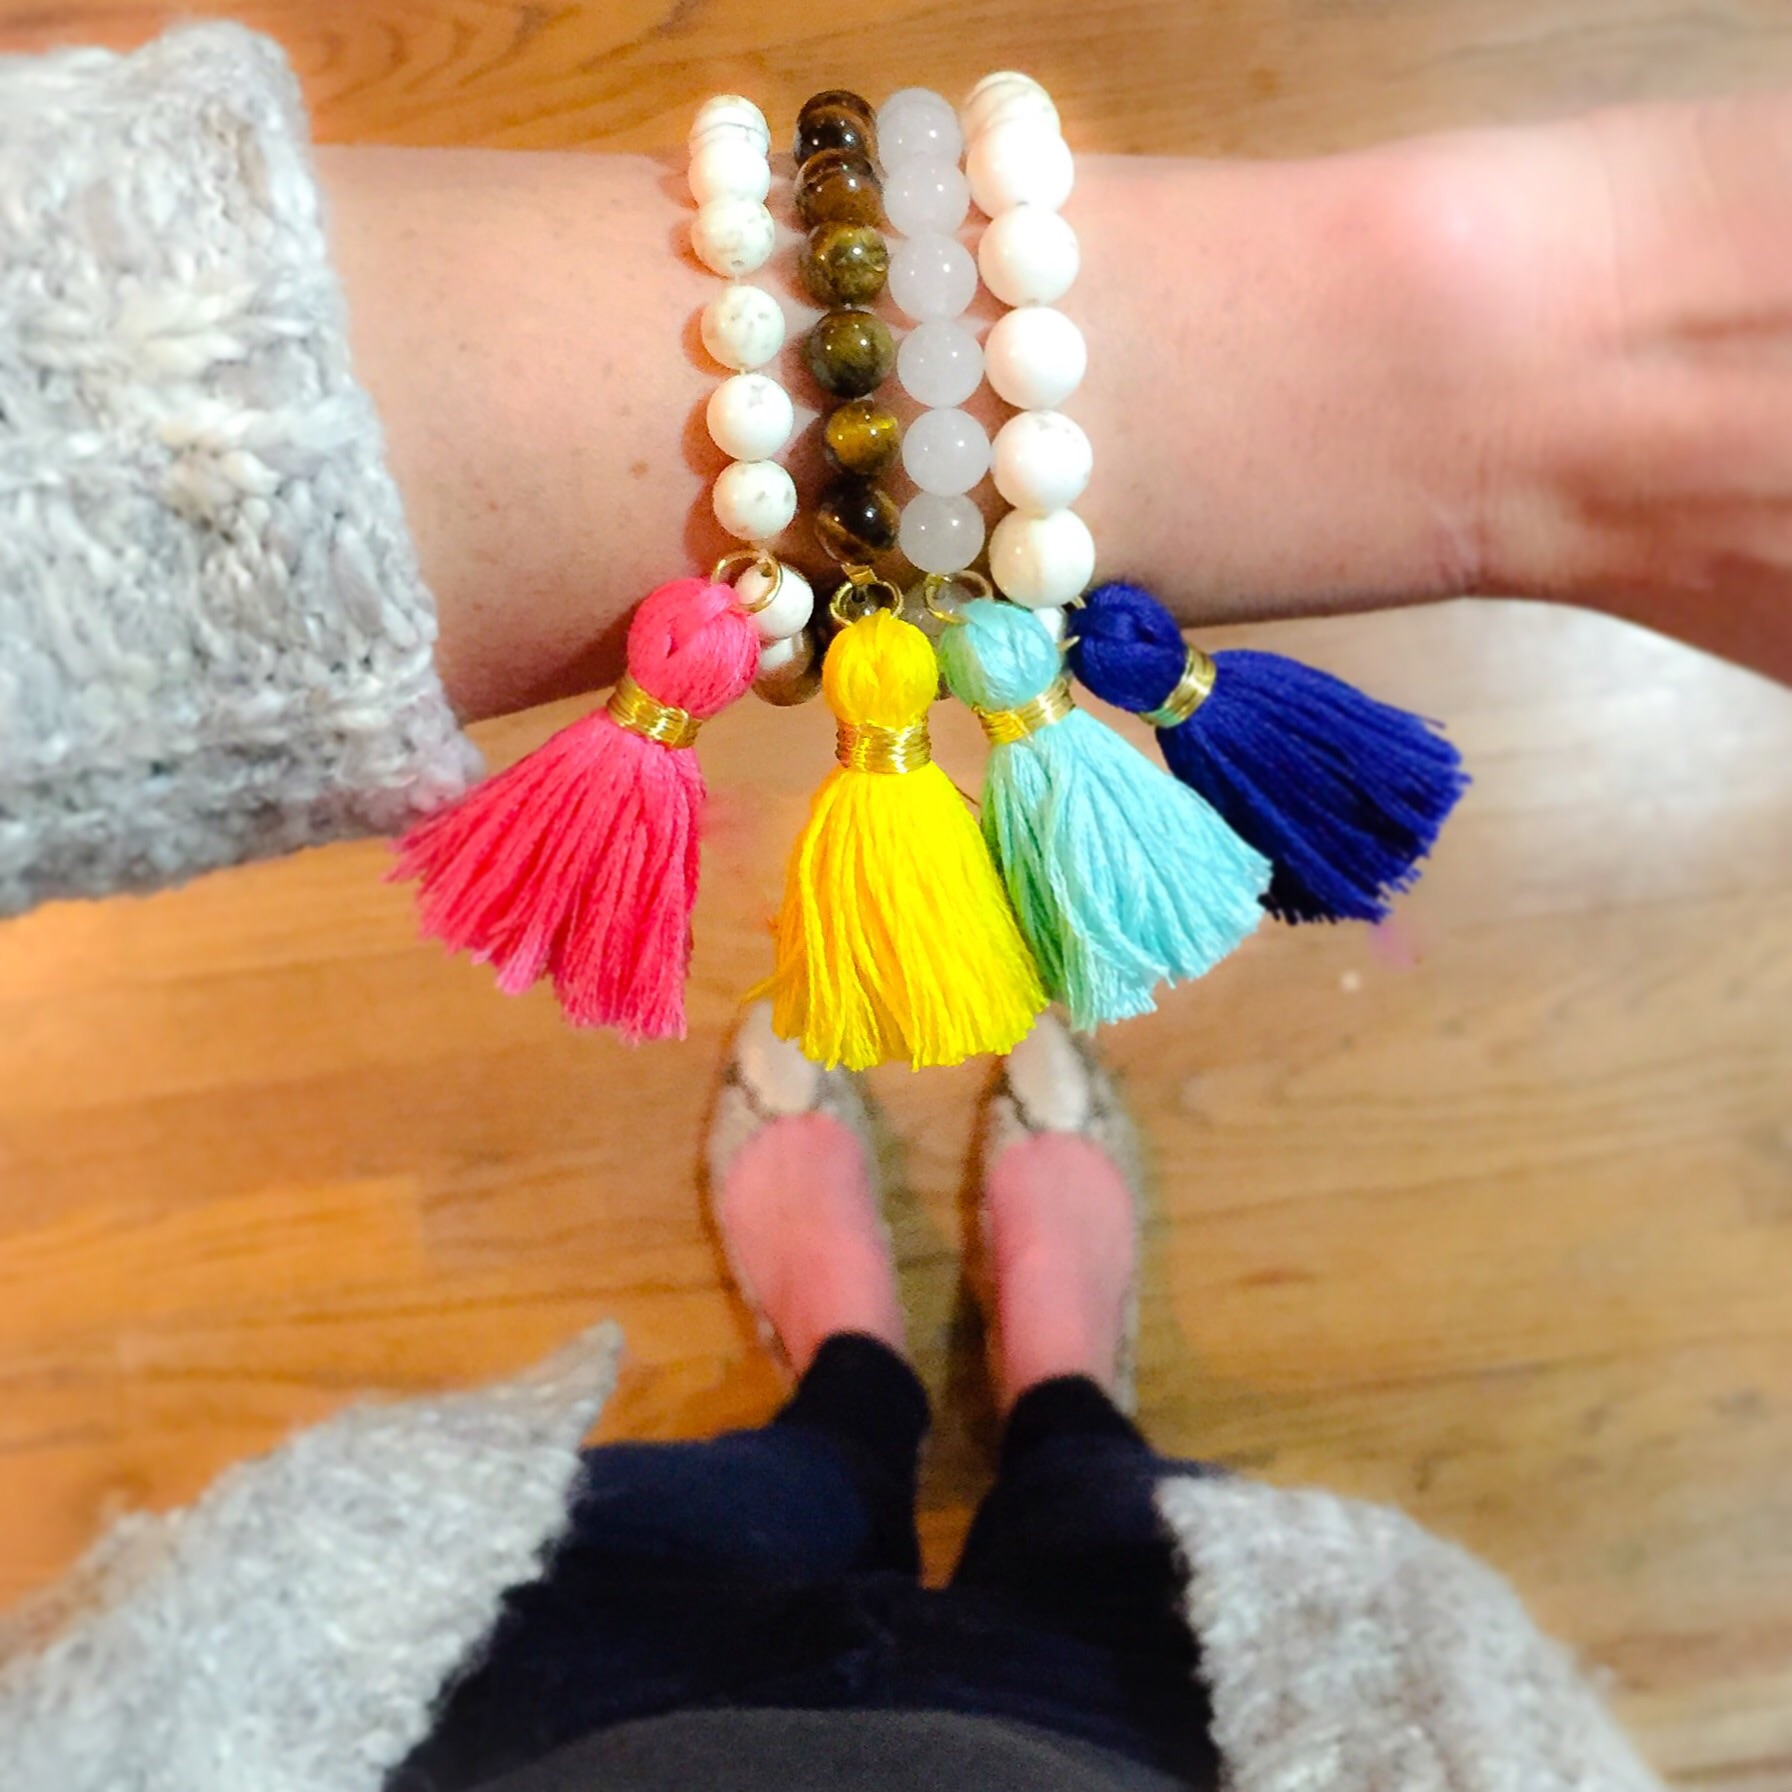
TA DA! You have yourself a tassel bracelet! Check our some of my other bracelets below and scroll to the bottom to download printable instructions!


Printable Instructions: