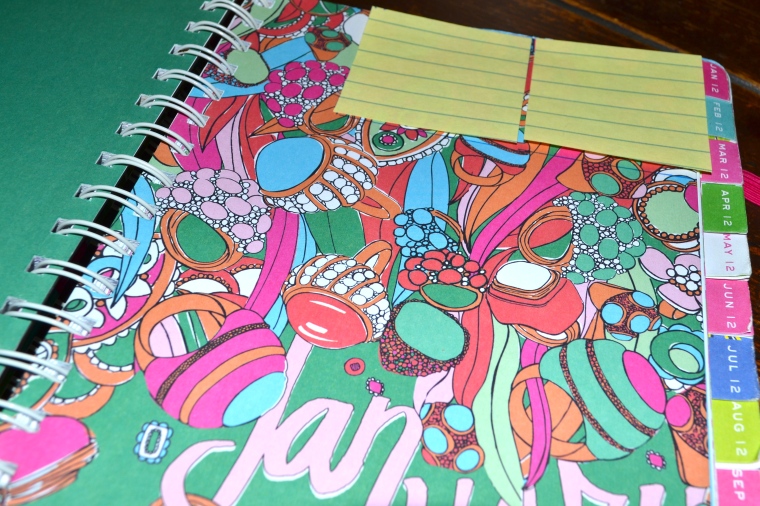
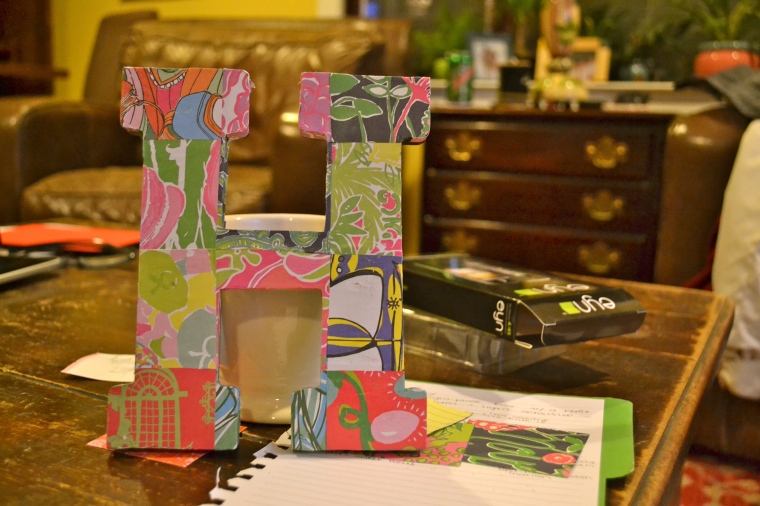
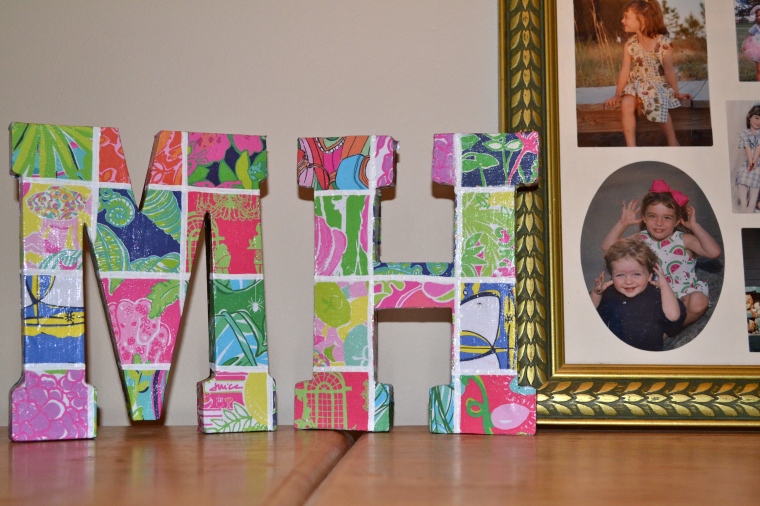
Now that it is 2013, I have no use for my 2012 Lilly Agenda. I felt bad throwing it away, but I don't have a use for it and it is filled with homework assignments and test schedules that I really don't need to be reminded of. Before throwing it out, I obviously took out the sticker pages. I may not be a kid anymore, but that doesn't mean I stopped loving stickers or don't need a lollipop after I get a shot at the doctors. I'm actually quite upset that my doctor thinks she can stick a needle in my arm without the promise of a sugary treat. I also went through all the prints for each month of the year and realized they were way too cute for the trash. I saw an instagram picture of Lilly patchwork letters and thought this was the perfect way to use the patterns that the Lilly print designers are so great at making. So if you are a fellow Lilly Lover and need something to personalize your room, or rep your sorority, or just want to craft, try making your very own Lilly Letters!
What you need:
-Wooden letters from Michaels.
-Old Lilly planner, or 12 patterns printed out.
-Mod Podge
First, decide what size patches you want. Make your stencils 1/4- 1/2 an inch larger than the actual size you want so the patches can overlap and you won't have any gaps between the patches. I used normal sized post-its as stencils.

You can either glue the patches directly onto the letters, or glue the patches together, let dry, and then glue the patchwork onto the letters. I chose the second option because it made it easier to put the middle patches on.

After they are both dry, you can outline the patches or paint fake stitch marks between the patches. Finally, put a coat or two of mod podge on the letters. Use a sponge brush to avoid streaking.
Let dry.


